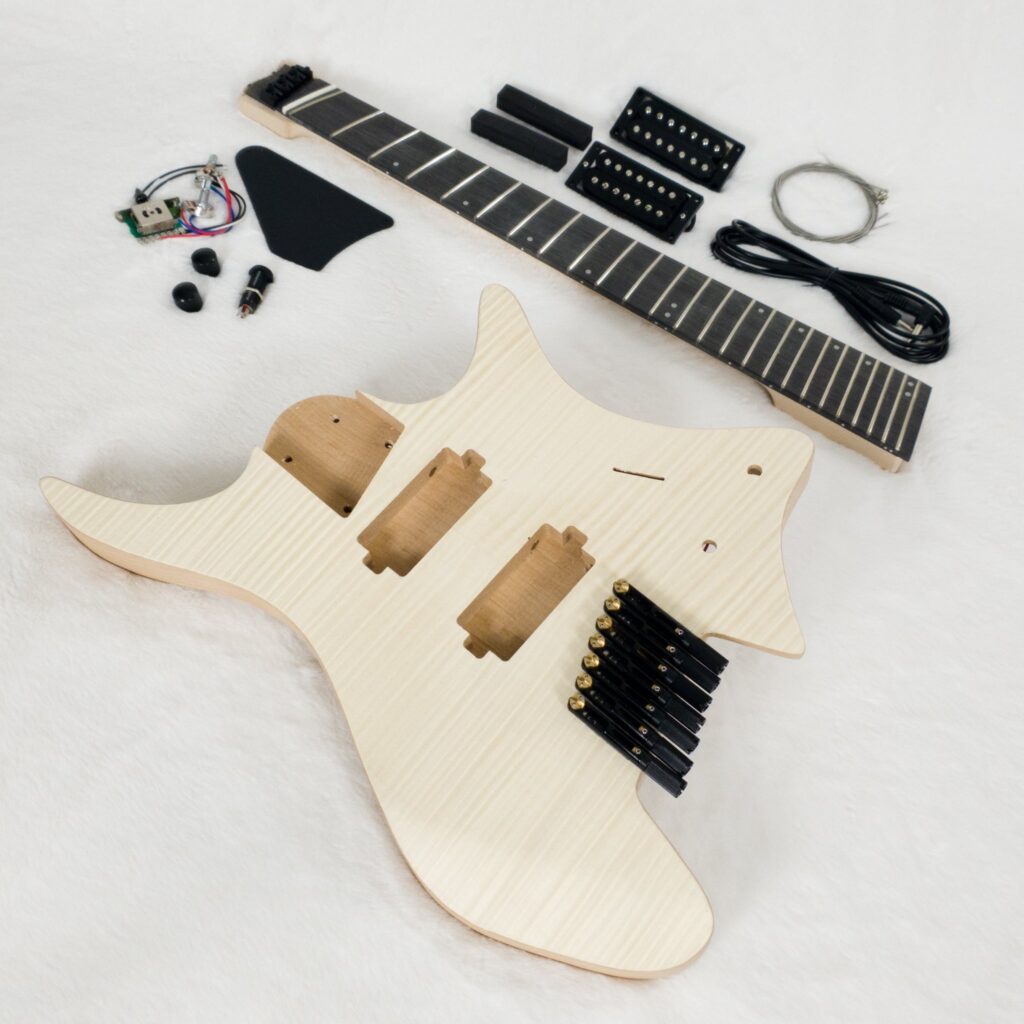
Are you a passionate guitarist looking to expand your musical horizons? Do you want to venture into the world of extended range instruments? Look no further! In this article, we’ll explore the fascinating world of DIY 7-string guitar kits. These kits provide an exciting opportunity for guitar enthusiasts to build and customize their very own 7-string electric guitar, opening up a whole new realm of musical possibilities. Whether you’re an experienced luthier or a curious beginner, this guide will walk you through the process of building your own 7-string guitar from scratch.

WHY CHOOSE A DIY GUITAR KIT?
1. CUSTOMIZATION
One of the biggest advantages of opting for a DIY guitar kit is the freedom to customize every aspect of your instrument. From the choice of tonewoods to the selection of pickups and hardware, you have full control over the final outcome. This allows you to create a unique instrument tailored to your personal preferences and playing style.
2. EDUCATIONAL EXPERIENCE
Building a guitar from a kit is not only a rewarding endeavor but also a valuable learning experience. As you assemble the instrument, you’ll gain insights into the inner workings of a guitar and develop a deeper understanding of its components. This hands-on approach can enhance your overall knowledge of guitars, leading to better appreciation and maintenance of your instrument.
3. COST-EFFECTIVENESS
In comparison to purchasing a pre-built 7-string guitar, a DIY kit can be a more cost-effective option. By eliminating the labor costs associated with professional guitar building, you can save a significant amount of money. Additionally, you have the flexibility to choose components that fit your budget, making it an affordable way to own a high-quality 7-string guitar.
SELECTING THE RIGHT DIY GUITAR KIT
Before embarking on your DIY 7-string guitar-building journey, it’s crucial to choose the right kit that suits your needs and skill level. Here are some factors to consider:
1. SKILL LEVEL
DIY guitar kits are available in various difficulty levels, ranging from beginner-friendly to advanced. If you’re new to guitar building, it’s advisable to start with a kit designed for beginners, as it will provide detailed instructions and simplified assembly processes. For experienced builders, more complex kits with advanced features may be the ideal choice.
2. QUALITY OF COMPONENTS
Ensure that the kit you choose includes high-quality components. Look for kits that use solid tonewoods for the body and neck, as well as reputable pickups and hardware. Research customer reviews and ratings to get an idea of the overall quality and performance of the kit.
3. DESIGN AND STYLE
Consider the design and style of the guitar kit. Do you prefer a classic or modern look? Are you drawn to a particular body shape or finish? Select a kit that aligns with your aesthetic preferences, as it will inspire you to create an instrument that reflects your personality.
BUILDING YOUR DIY 7-STRING GUITAR
Now that you’ve selected the perfect DIY guitar kit, it’s time to dive into the building process. Remember to follow the specific instructions provided with your kit, but here are some general steps to expect:
1. PREPARING THE WORKSPACE AND TOOLS
Set up a dedicated workspace with ample room to lay out the components and perform assembly tasks. Gather the necessary tools, such as screwdrivers, pliers, a soldering iron, and sandpaper, to name a few. Organize your tools and ensure they are easily accessible throughout the building process.
2. BODY ASSEMBLY
Begin by attaching the neck to the body, carefully aligning the neck pocket and securing it with screws or bolts. Next, install the bridge and tailpiece,making sure they are properly positioned and aligned. Follow the instructions provided to mount the pickups and electronics onto the body, ensuring proper wiring connections.
3. NECK ASSEMBLY
Attach the tuning machines to the headstock, making sure they are securely fastened. Install the nut onto the neck, ensuring proper string spacing and alignment. Carefully attach the neck to the body, ensuring a snug fit and proper alignment with the bridge and pickups.
4. FINISHING TOUCHES
Once the main assembly is complete, it’s time to add the finishing touches to your DIY 7-string guitar. Sand the body and neck to achieve a smooth surface, removing any rough edges or imperfections. Apply a finish of your choice, such as paint, stain, or lacquer, to protect the wood and enhance its appearance.
5. SETUP AND ADJUSTMENT
After the finish has dried, it’s time to set up and adjust your newly built guitar. Install the strings, ensuring proper tension and tuning. Adjust the truss rod to achieve the desired neck relief, and fine-tune the bridge saddles for proper intonation. Make any necessary adjustments to the action and pickup height to optimize playability and tone.
Building a DIY 7-string guitar from a kit can be a fulfilling and rewarding experience for any guitarist. Not only do you get to unleash your creativity by customizing your instrument, but you also gain valuable knowledge about guitar construction and setup. With the right kit and a little patience, you can create a unique 7-string guitar that perfectly suits your musical style and preferences. So, grab a DIY guitar kit, roll up your sleeves, and embark on this exciting journey to craft your very own 7-string masterpiece!
As an Amazon Associate we earn from qualifying purchases through some links in our articles.
